CCAC
2.1 The Face
arrow Drawing the Head
arrow Semirealistic Faces
arrow Drawing from Life

You will never escape the circles and lines. Never. They will haunt you
forever. As you will recall from 1.2, the head starts in the layout as a circle. Most things do. Here's our circle for today.
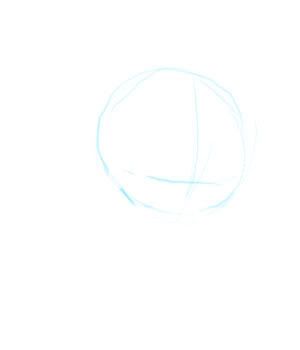
Onto that circle, draw two crossing lines, one down the center, where the nose will go, and once across the center, just below where the eyes will be.
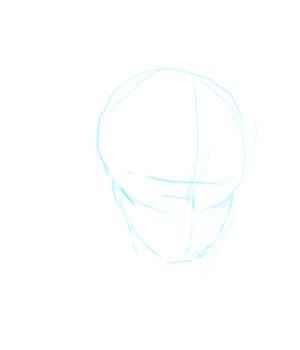
Build a chin off of your circle. We now have a head.
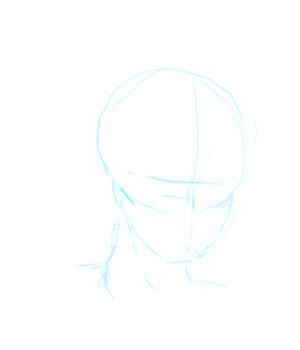
Pull a neck down from the head. The thicker the neck, the brawnier your character will appear. In most styles, and with most characters, the neck is between three-fourths and two-thirds as wide as the face.
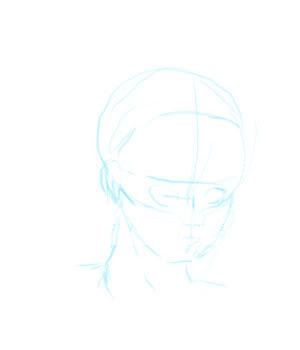
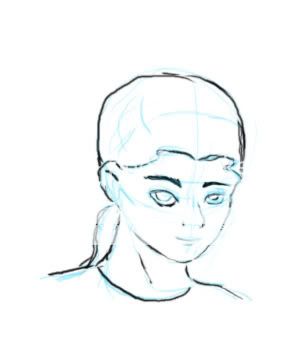
Draw smaller circles to indicate where the facial features will be. We do not draw them on directly so we can get them placed appropriately before we start drawing, just like with the limbs. The nose, the ears, the eyes, and the mouth, when closed, are all about the same size. Younger characters tend to have larger eyes. Various styles will change the size of facial features to make the character look younger and cuter. This character is a young adult.
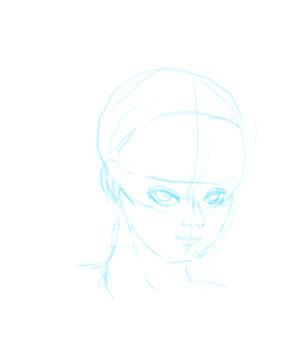
Depending on the character's indivual characteristics, build up the bridge of the nose, the eyes, the mouth, et cetra. Males, as this character is, tend to have less defined lips then females and larger noses. This particular one is wearing a calm expression. Pay close attention to the eyes, especially when drawing bishonen. When the character is facing away slightly, the far eye should appear slightly smaller than the close one.

Working from the eyes up, draw on the eyebrows, then the hairline or bangs, then the back of the hair. Male characters tend to have thicker, darker eyebrows than female characters. Though there is much person-to-person variation, be careful not to draw the hairline too high, because then it could look like the back of the head is missing; and that the face is just floating around above the shoulders. That looks pretty dumb. The back of the hair, whether or not it's bound up, starts in the back. Sometimes it comes over a shoulder, sometimes it sticks straight up. (this mostly occurs in punks and manga)
Ink as described in 1.2.
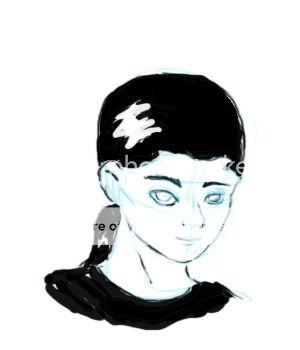
Fill in the large black areas, starting at the edges of the highlights and dark areas.
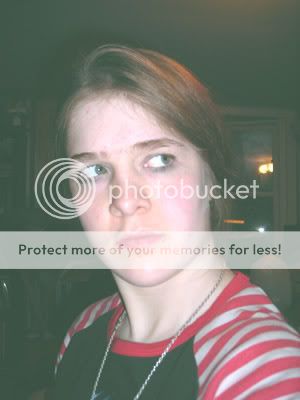
A great way to get practice in drawing faces is to draw people from life. The trick with drawing from life is training your eyes to see edges instead of just colors. If you read alot of comics, this should be easier than if you didn't.
Start by imagining that there is a film of tracing paper over the entire world.
Find the edges of the face, or whatever it is you happen to be drawing. With the hair, pay careful attention to the way it is flowing, and just mimick it with the lines.

Some people will tell you that while things to have defined edges in comics, that's not the way it works in real life. In my lifetime of experience looking at the world around me, I feel comfortable saying
that's a damn lie they are mistaken. The lines on the edges of objects are created by shadows. Sometimes they are blackish, sometimes they are a darker shade of the main color, and sometimes (usually if they're backlit or translucent) the lines are lighter. But the lines are indeed there. The purpose of this exercise is to find those edges.
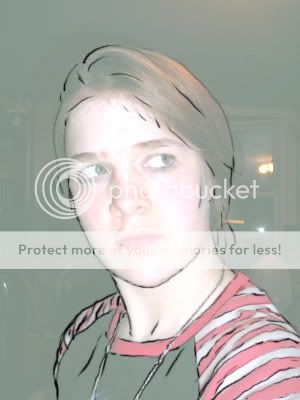
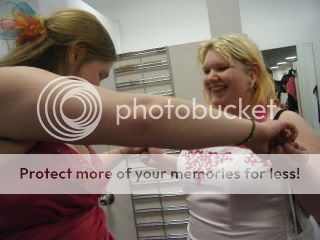
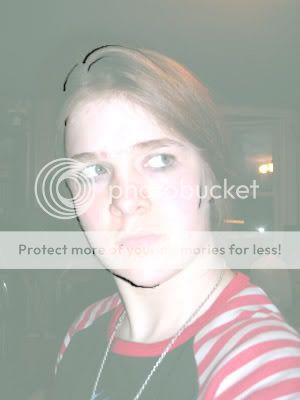
When drawing from life, the main thing to remember is to ignore what you know and draw what you see. For example, we know that Kat's sleeves are horizontally striped. However, in places, such as her right shoulder (our left) the stripes appear vertical. Being fabric, the pattern also folds around the creases in her shirt. The hair is also further defined.
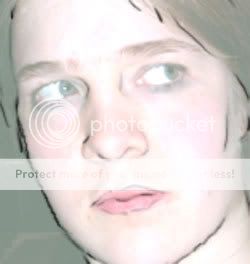
The mouth and nose are now outlined. Her nose is empasised in the rounded tip and nostrils, and the bridge is barely drawn. The only sign of it is is te eye concavities.
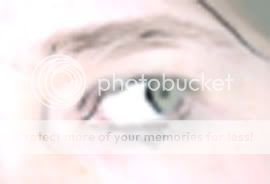
Again, pay close attention to the eyes. Outline the edges ofthe flesh around the eyeball, then the curve of the eyeball itself. The pupil is the next step, showing u that Kat has something much more important to look at then the camera. Then the upper lid, eyebrow and eyeliner is added.
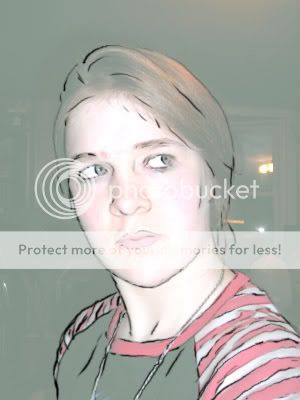
The finished image looks much like this, except for the fact that-

It's on paper.
While still models, such as photographs, are great for the basic idea and beginners, pay attention to the way people's faces move. Talking to someone while doing their portrait, with practice, can really improve the finished product.